Kitchen Planning · Homeowners planning a small kitchen
Small-kitchen storage: plan the objects and movements before buying inserts
Plan small-kitchen drawers, waste storage and service access around real objects, clear dimensions and daily routines.
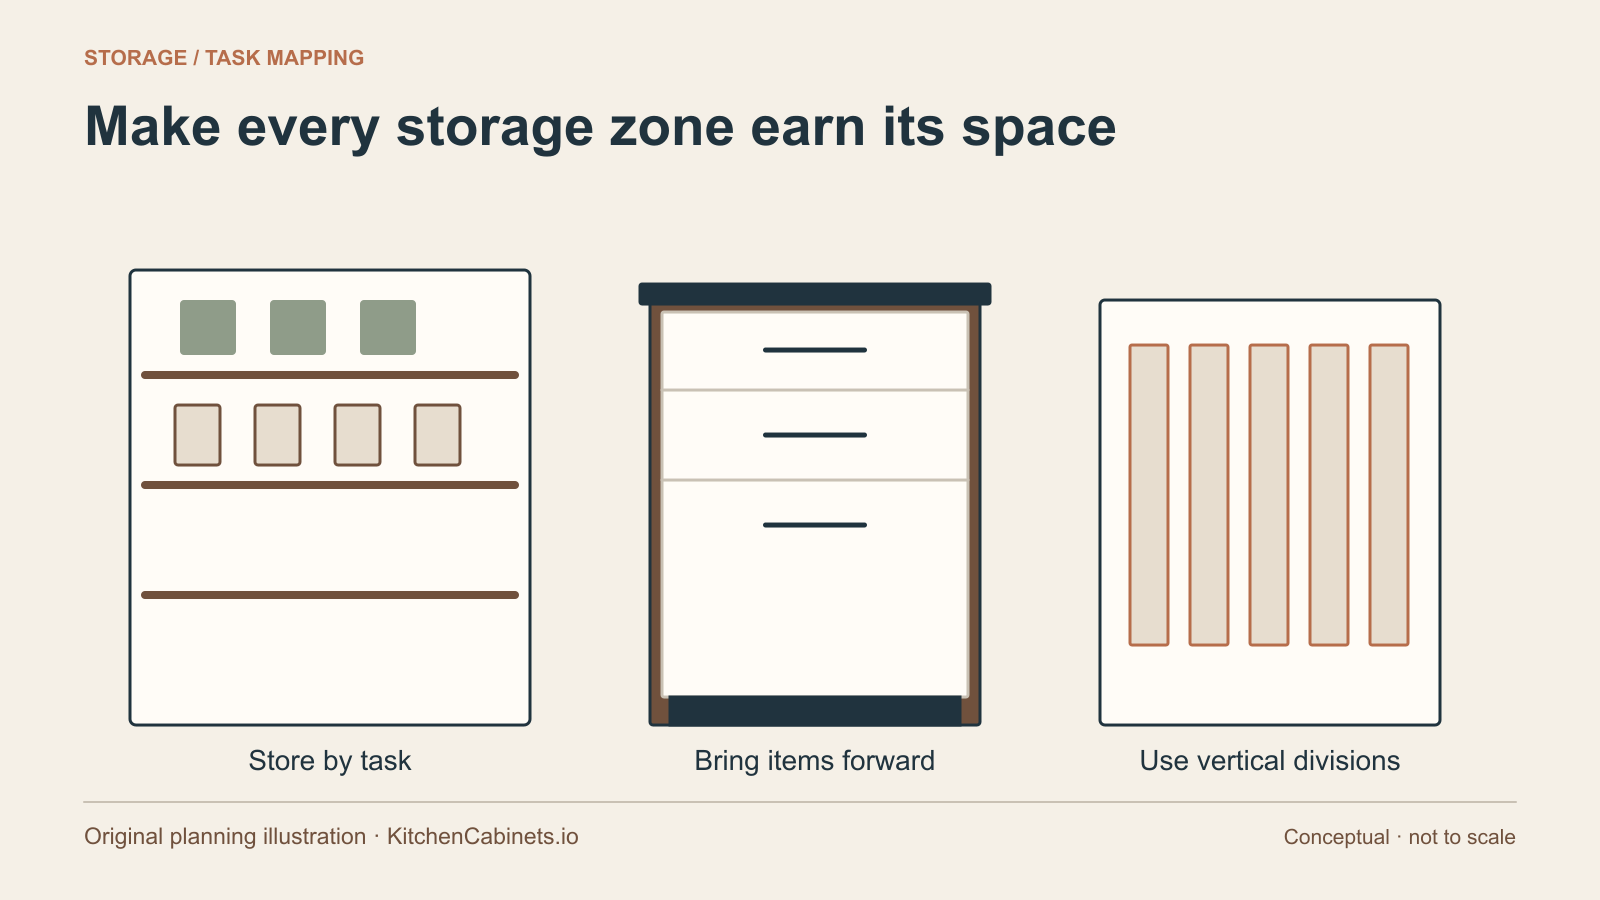
Start here
A small kitchen does not become useful simply by filling every cabinet with an organizer. A pullout can improve access while reducing the free space inside a cabinet. A tall pantry can hold a great deal while making a frequently used shelf difficult to reach. A large waste bin can look impressive in a catalogue and still be inconvenient beside the preparation area. The most useful storage plan starts with actual objects, everyday movements and a clear understanding of the space a mechanism needs.
This is a planning method for homeowners and the cabinet professionals helping them. Product examples illustrate the kinds of questions to ask; they are not universal fit recommendations or claims that KitchenCabinets.io sells those systems. Exact cabinet openings, hardware combinations, load limits and installation requirements must come from the chosen manufacturer's current documents. A well-designed plain drawer can be a better answer than a complex accessory that does not suit the household.
Count what needs a home
Begin with a practical inventory rather than the number of doors in the proposed kitchen. Group items by use: daily dishes, cooking utensils, pots, food containers, dry ingredients, cleaning supplies and occasional equipment. Include the awkward objects that tend to escape a generic cabinet plan, such as a tall bottle, a stockpot, a large cutting board or a countertop appliance. Measure the largest items in each group, including handles and lids.
Keep frequently used objects separate from things that are merely owned. A serving platter used a few times each year does not deserve the same convenient location as the plates used every evening. A drawer allocated to an imagined future collection can crowd out the equipment already used every day. If the household intends to reduce or replace items, record that as a decision rather than silently assuming that everything will fit after the renovation.
Write the inventory beside a basic room plan. Assign each group a proposed home and note why it belongs there. The explanation may be as simple as plates close to the dishwasher or knives near the main preparation surface. This document is a design tool, not a rule that everyone must organize in the same way. It gives the designer specific information to test instead of asking them to guess your habits.
Follow one ordinary meal through the room
Choose a meal that is prepared regularly and walk through the sequence of taking ingredients out, washing, cutting, cooking, serving and cleaning up. Note which cabinet is opened at each stage and which doors or drawers would be open at the same time. A storage location that looks efficient on a floor plan may become awkward when a dishwasher door is down or another person is standing at the sink.
Repeat the exercise for unloading groceries and emptying the dishwasher. These routines expose a different set of storage needs from cooking. Dry ingredients may need a convenient landing area before they reach the pantry. Dishes may need to be put away without carrying them across the busiest part of the room. The aim is not to eliminate every step; it is to avoid repeatedly interrupting one task to access the equipment for another.
Try the sequence with the actual people who will use the kitchen. Reach, strength, handedness and preferred working positions vary. A mechanism that one person finds convenient may be difficult for another to operate or see into. Discuss those differences before choosing a specialized insert. Testing a showroom example with normal hand movements is more useful than deciding from a photograph of a neatly arranged drawer.
Specify the opening, not just the cabinet width
Nominal cabinet width is only the starting point for selecting a storage accessory. Face frames, side panels, hinges, plumbing, fixings and the chosen door arrangement can reduce the usable opening. An organizer may need a clear path through the front as well as space behind it. It may also require a particular mounting surface or a door connection that does not suit the proposed cabinet construction.
Ask the cabinet maker or installer to record the clear opening width, usable internal height and available depth for each proposed mechanism. Then compare those measurements with the exact product drawing, not a broad catalogue category. A product described as suitable for a certain nominal cabinet size can still have model-specific requirements. Confirm the full part number, the mounting arrangement and any parts that must be ordered separately.
For a retrofit, inspect the existing cabinet rather than relying on a measurement taken outside the doors. Photograph the hinges and the inside of the opening. Identify any fixed shelf or service that would obstruct the proposed movement. Do not remove a structural element or alter a service to force a mechanism into a cabinet without appropriate professional guidance. A different accessory may be a more sensible and less disruptive choice.
Give waste and recycling a complete workflow
Waste storage begins with the collection system the household actually uses. List the streams that need separate containers and the way they are emptied. Packaging, food scraps and general waste may need different handling. An attractive pullout with one large container does not solve a routine that depends on several smaller containers, and extra volume is not always useful if it encourages waste to remain in the kitchen longer than intended.
Rev-A-Shelf's waste-container range illustrates why the exact model matters: the manufacturer offers different cabinet-mounted systems rather than one universal bin assembly. Confirm the required opening, mounting method and container arrangement against the selected model. Include the space needed to lift a container out, replace a liner and clean the area around it. A mechanism that fits when closed can still be awkward to service under a countertop or beside a projecting handle.
Locate the waste station by tracing preparation and cleanup, not by giving it whichever cabinet remains at the end of the design. Check what happens when the waste pullout and dishwasher are open together. Make sure routine waste handling does not block the only practical path through the room. Discuss ventilation, cleaning and any container lid with the supplier; a cabinet insert is not a substitute for a workable household emptying routine.
Keep the sink cabinet serviceable
The sink base is tempting storage territory because it is often a large cabinet with an apparently empty volume. In practice, plumbing and other installed equipment occupy irregular space and may require future access. Before selecting drawers or pullouts, record the actual sink, waste connection and any other equipment that will be installed. Plan around the services as they will be built, not around an empty showroom box.
Blum's sink-cabinet application demonstrates that sink-area organization can be designed around practical tasks and standard hardware components. It does not mean that every sink base should receive the same arrangement. Ask the cabinet professional to show the proposed mechanism alongside the final plumbing layout and confirm how a plumber would inspect or service the assembly. An organized cabinet that cannot be maintained is not a successful storage solution.
Avoid turning the space into an inaccessible stack of cleaning products. Decide which items need to be there and whether they can be removed easily for inspection. Keep household safety needs in the discussion, including appropriate storage of cleaning materials. If the design includes a removable tray or another way to make small leaks easier to notice, confirm how it fits without obstructing required access or concealing a continuing plumbing problem.
Compare drawers with shelves honestly
Drawers can make objects easier to see and retrieve, especially when the contents would otherwise sit behind one another on a deep shelf. They also use space for the drawer box, runners and clearances. The useful comparison is not drawers versus shelves as a slogan. It is whether a particular arrangement gives the household better access to a particular group of objects within the available cabinet.
Place a measured outline of the proposed drawer on paper and arrange the actual items within it. Include dividers or containers only after checking how much space they consume. A deep drawer holding a few short items can leave a large unused volume above them; a shallower drawer might serve that group better. Conversely, a shallow drawer is not a substitute for a space that genuinely needs to hold a tall pot or appliance.
Ask about the loaded system rather than a drawer that glides smoothly when empty in a showroom. The cabinet maker should confirm the appropriate hardware, drawer construction and installation for the intended use. Do not treat the largest published runner capacity as a recommendation to overload every drawer. Capacity, drawer dimensions, attachment and the cabinet assembly all belong in the specification review.
Use height and narrow spaces selectively
Storage near the ceiling can be valuable for light, occasional items, but it should not become the assumed home for equipment needed several times a day. Discuss safe and convenient access with the people using the room. A tall cabinet that depends on routinely balancing on an unsuitable stool has exchanged floor-space pressure for an access problem. More vertical volume is useful only when it can be used sensibly.
Blum's SPACE STEP is a specific example of a product that combines a step platform with additional toe-kick storage. Its value here is to show that cabinet-base space and access can be considered together. It is a designed hardware application with its own requirements, not an invitation to convert an ordinary drawer into a step. Review the exact configuration, permitted use and installation documentation with the supplier before including it in a plan.
Narrow gaps deserve the same discipline. A specialized pullout may make a gap useful, but the mechanism and its contents still need enough room to move. Ask whether the proposed narrow unit can hold the actual bottles, trays or tools on the inventory. Compare that answer with a simpler fixed storage solution or a different allocation of neighbouring cabinet widths. Filling a gap is not automatically worth sacrificing a more useful adjacent drawer.
Work through a small-kitchen example
Imagine a household that cooks most evenings, uses a dishwasher and has limited counter space. Its inventory shows that daily plates, food containers, pans and two countertop appliances account for most storage pressure. The first design offers a large pantry accessory and a decorative corner mechanism. Before approving those purchases, the household tests a second layout that puts dishes near the dishwasher, pans near the cooking area and food containers beside the main preparation surface.
The comparison reveals that one appliance needs an accessible cupboard with a nearby landing area, while the other is used infrequently and can live in a less convenient location. It also shows that the waste pullout would collide with the dishwasher in the first layout. The solution is not necessarily more accessories. It may involve changing which cabinet performs which job and choosing a simpler interior where access is already adequate.
Create a comparison sheet for both layouts. Record the groups that fit, the groups that remain unresolved, simultaneous-opening conflicts and any special hardware required. Ask for the cabinet professional's confirmation of accessory compatibility and installation. This process makes the trade-offs explicit without pretending that a single kitchen layout, storage brand or cabinet arrangement is best for every household.
Approve a storage schedule, then check it at handover
Before ordering, finish a cabinet-by-cabinet storage schedule. Each entry should name the intended contents, required clear opening, selected accessory or shelf arrangement, exact model where relevant and any service-access consideration. Mark unresolved items clearly rather than allowing a catalogue picture to stand in for an agreed specification. Use the same schedule when comparing quotes so that an omitted insert or a different mechanism is visible.
At handover, compare the installed arrangement with the schedule using ordinary objects. Open adjacent doors and drawers together, remove waste containers and verify that expected service access remains available. Ask for the product-specific instructions for removal, adjustment and cleaning. If an item does not fit or a mechanism does not move as expected, record the location and exact issue before the project is signed off.
A useful small kitchen is the result of several well-matched decisions: which objects deserve the easiest access, which movements should not conflict and which mechanisms genuinely improve the cabinet. Start with those decisions, then use product specifications to make the plan buildable. For local cabinet conversations, bring that same inventory and schedule to the relevant city planning page rather than restarting with a wish list of accessories.
Leave a place for changing needs
Not every compartment needs a permanent fitted insert on installation day. Identify which storage decisions are well established and which may change as the household uses the kitchen. A removable organizer can be evaluated against actual contents, provided it fits the specified drawer and does not interfere with operation. Keep the clear interior dimensions in the handover file. That makes later accessory purchases more deliberate and avoids treating a photograph of a fully accessorized display as a requirement to buy every component immediately.
Sources and editorial notes
This is original explanatory reporting and planning analysis. Manufacturer documents support the specific product facts attributed in the guide; they do not imply affiliation. Sources were checked for this launch. The illustration was created for this article; it is not a photograph of a completed project.
Corrections or a documented technical update? Email the editorial desk.