Planning · Homeowners preparing a first cabinet quote
Measure the Kitchen You Have Before Ordering the Cabinets You Want
Create a useful measurement packet with clear references, openings, services and final-measure hold points.
Start with the practical decision
A kitchen measurement is useful only when someone else can understand what was measured. A wall length scribbled beside an attractive drawing leaves too many questions unanswered: was the tape against the finished wall, did the dimension include the door casing, and is the refrigerator shown at its actual depth? Before asking for cabinet quotations, build a small measurement packet that separates observations, assumptions and decisions. It will help suppliers price the same scope and give the installer a clear starting point. It does not replace a supplier's final site verification or an appliance manufacturer's installation instructions.
The aim is not to draw a professional construction set on the first afternoon. It is to stop uncertain information becoming an expensive order. A photograph can reveal an obstruction that a floor plan misses; a labelled dimension can explain a photograph that otherwise has no scale. Use both. Keep the original notes, even after making a clean copy, and identify the date and room condition on every version. A kitchen measured before flooring, wall repair or a new opening is finished is a planning survey, not automatically the final order measurement.
Start with one room and one reference system
Stand in the doorway and assign each wall a letter. Mark the same letters on the plan and on photographs. Choose a consistent starting corner for each wall run and show an arrow for the direction in which dimensions increase. Record whether you are using millimetres or inches; do not put unlabelled numbers from two systems on one drawing. If you convert a dimension, retain the original alongside it so the person checking the plan can identify rounding. A short legend explaining these choices is more valuable than a polished rendering with no measurement references.
Use a plan view for the room outline and a separate elevation for each cabinet wall. The plan answers where objects sit; the elevation answers how high they are and how they relate to windows, ceiling changes and services. Add a small note to distinguish dimensions taken to finished surfaces from dimensions taken to exposed framing. If a surface will change, record the anticipated change as an assumption rather than quietly adjusting the measurement. Someone reviewing the packet should be able to tell which numbers came from a tape and which came from a future design decision.
Establish whether the room is ready for final measurement
IKEA Canada's measuring guidance distinguishes a measure-ready room from an unfinished work area: major building work should be complete and final utility positions established before accurate final measurements are taken. That distinction is useful even when buying another brand. You can collect preliminary dimensions earlier, but label the information accordingly. A new wall lining, corrected floor or relocated waste connection may change the cabinet arrangement. Ask the cabinet supplier when it expects to measure and which site conditions must be complete before the order can be released.
Do not hide unfinished work behind an apparently precise dimension. Write, for example, that the left wall is awaiting its final lining, or that the floor level will change after an existing finish is removed. Photograph the condition and identify the person responsible for confirming it. If the quotation must proceed before that work is finished, request a planning allowance with an explicit final-verification step. The useful question is not whether the drawing looks complete, but whether a supplier could reasonably mistake an unresolved assumption for a confirmed finished dimension.
Measure walls as complete runs and as smaller segments
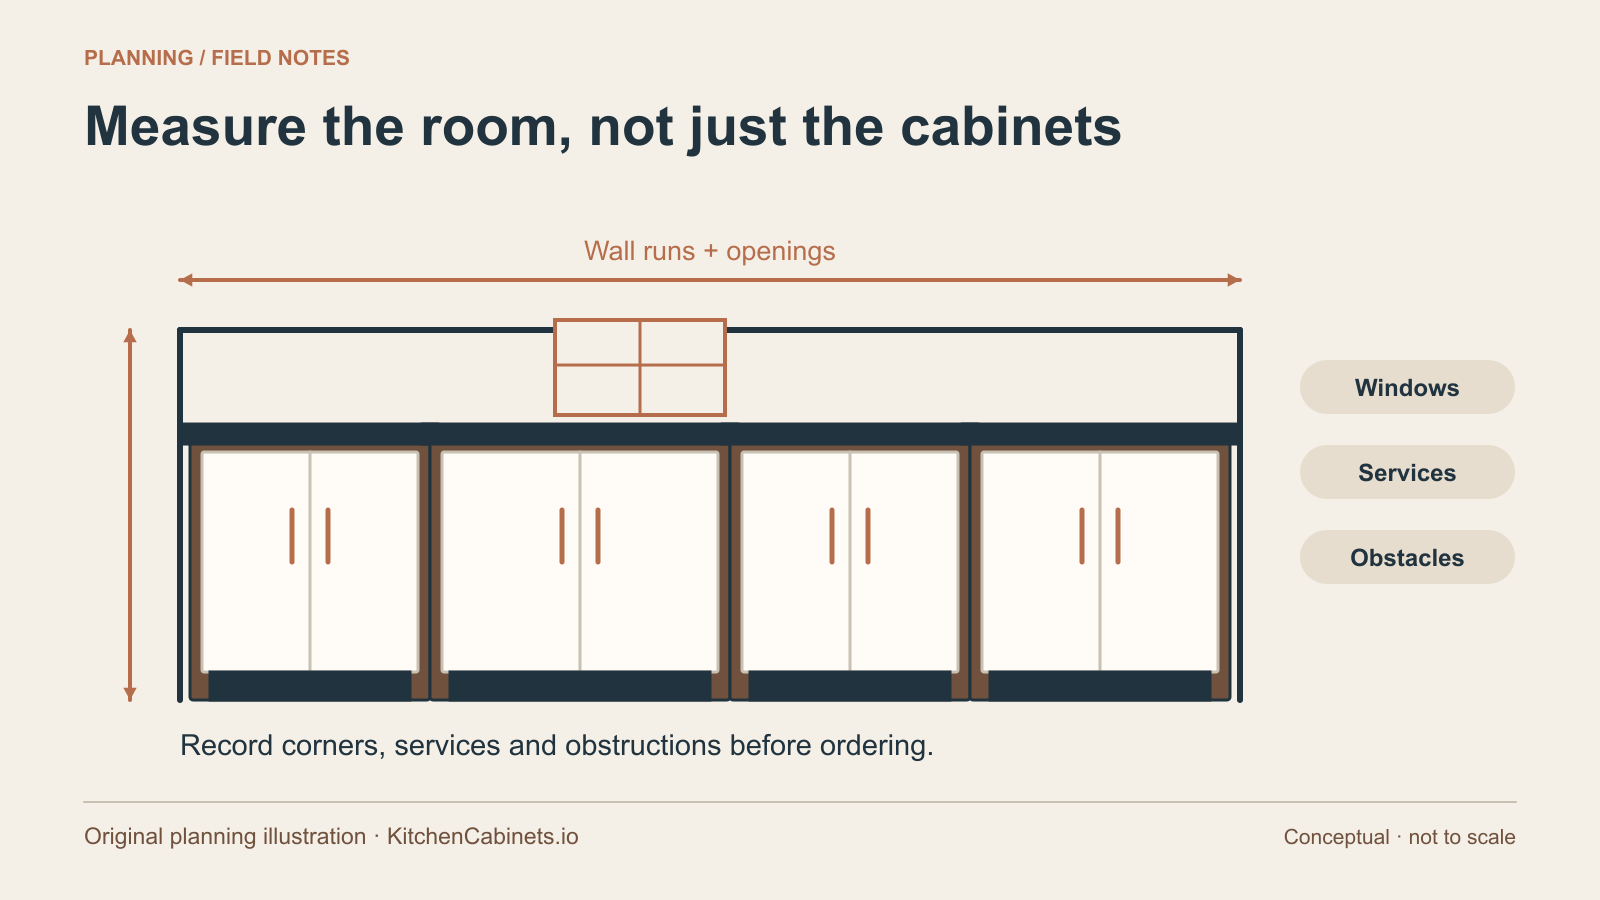
Record the full wall run, then record the segments that explain it: corner to opening, opening width, opening to the next corner. Check whether the smaller dimensions add up to the overall measurement. A disagreement is a reason to measure again, not an invitation to distribute the difference across cabinet widths. On longer runs, repeat measurements at more than one height where access permits. Existing walls may not be straight or parallel. A single number at counter height cannot establish the condition of an entire wall or the space available for a tall cabinet.
Make notes about protrusions rather than measuring around them without explanation. A chimney breast, pipe enclosure, radiator or structural post needs its own location and dimensions. Show where it begins along the wall and how far it projects into the room. Do not assume a decorative enclosure can be removed. If its purpose is unknown, mark it for investigation before cabinetry is designed around its absence. The same applies to a narrow strip of wall beside a door: the space may exist on paper while the casing or open door makes a cabinet there impractical.
Give windows and doors their own information
For each window, record the opening, frame or casing dimensions, height above the floor and distance from the nearest reference corner. IKEA's checklist also calls for the space needed to open a window. That matters near a sink faucet, an upper cabinet or a proposed shelf. Photograph handles, deep sills and projecting trim. Avoid using the glass size as the opening size unless you label it specifically. A cabinet designer needs to know the physical obstruction, not just the visible pane, and may need to coordinate with a window change that has not happened yet.
Show each door's swing on the plan and photograph it in both open and closed positions. Include the casing rather than drawing a thin opening line that suggests more usable wall than exists. Test the everyday route through the room with a person carrying a bag or tray. This is an observation exercise, not a code-compliance assessment. Where access needs or required passage widths are involved, have the relevant designer and local professional review the plan. The cabinet order should not depend on a door opening farther, or occupying less space, than it actually does.
Locate services without turning the survey into installation work
Mark visible water, waste, electrical, gas and ventilation locations. Use dimensions from the same wall and floor references as the rest of the packet. Note whether a measurement is to the centre of a pipe, edge of a box or bottom of a vent opening. Photograph the service in context and close up. IKEA's measuring checklist specifically includes these connections and obstacles. Recording what is visible is different from determining whether a service is suitable or may be moved; leave electrical, gas and plumbing work to appropriately qualified people.
Keep access requirements visible in the design discussion. A shutoff, cleanout, junction or service connection should not disappear behind a proposed fixed panel merely because it is inconvenient on the drawing. Ask the responsible trade what access is required and give the cabinet supplier that answer before approving shop drawings. If the existing service is concealed, write that its location is unverified. Do not draw an exact location from memory. A clear unknown is manageable; an invented coordinate can make a seemingly finished cabinet layout unreliable.
Collect appliance documents before assigning openings
Make a model list for the refrigerator, cooking appliance, dishwasher and any built-in equipment. Include the complete model designation and links to the manufacturer's current installation documents. Product width is not the same as the required cabinet opening, and a marketing photograph does not show every service or ventilation requirement. Ask the appliance supplier to confirm which document applies to the model being ordered. If a selection is provisional, label it provisional and avoid releasing a tightly fitted opening on the assumption that all appliances in the advertised size category are interchangeable.
Show handles, door swings and adjacent panels in addition to the appliance body. A refrigerator may fit its recess while its door cannot open as intended beside a wall. A dishwasher can conflict with a corner drawer when both are open. These are coordination questions for the actual models and cabinet arrangement. Use the measurement packet to raise them early rather than improvising a generic clearance. Keep appliance installation requirements with the cabinet drawing so that the person reviewing the final order is not relying on a separate email thread that has already become outdated.
Reserve space for the parts that are not cabinet boxes
A run is not simply a sum of nominal cabinet widths. Fillers, finished ends, scribes, appliance panels and required clearances may occupy part of it. Identify which of these are included in the supplier's drawing and quotation. A wall that is out of plumb may need a fitting allowance; a drawer beside a projecting casing may need room to open. The correct allowance depends on the chosen system and site condition. Do not assign a universal filler dimension from an online example and treat it as a construction instruction.
Consider a hypothetical planning run of 3,000 millimetres. Three proposed 900-millimetre cabinet units use 2,700 millimetres before any other components are considered. The remaining 300 millimetres is not automatically available for another useful cabinet. It may be needed for a combination of end treatment, fitting allowances and the chosen layout. This arithmetic is a way to expose the question, not to prescribe a design. Ask the supplier to show every element in the dimension chain and identify which widths are fixed, adjustable or still awaiting final site confirmation.
Record levels, ceiling changes and installation access
Note visible floor transitions, ceiling slopes, soffits and bulkheads. Measure ceiling height in several relevant places, particularly where a tall cabinet is proposed, but do not assume a household tape survey proves level or plumb. Ask the installer what levelling and wall-condition checks it will perform. Include photographs that show the whole wall from floor to ceiling. An upper cabinet layout can be disrupted by a soffit or vent enclosure that was cropped out of every inspiration photograph and omitted from an otherwise careful plan.
The route into the kitchen also belongs in the packet. Record narrow doors, stair turns, lifts and other access constraints that might affect delivery of a large assembled unit or countertop component. The supplier should determine how its products can be transported and assembled, but it needs to know the obstacles. Avoid assuming a unit can be tilted into position under a ceiling simply because its installed height is lower. Where a manoeuvre matters, request an installation assessment using the actual product dimensions rather than a guess based on the room's finished appearance.
Give uncertain measurements an owner
Use a short register beside the drawing for anything you could not establish confidently. Each entry needs a location, the question to resolve, the person who will resolve it and the point at which the answer is required. For example, an appliance recess may need a final measurement after wall finishing, while a concealed pipe may need inspection before an internal drawer layout is selected. This prevents every uncertainty being assigned vaguely to the installer after cabinets arrive. It also makes the measurement exercise useful when several suppliers or trades contribute to the same project over different weeks.
Keep measurement confidence separate from drawing precision. A dimension shown to the nearest millimetre can still be based on an awkward reach behind an appliance. Mark a blocked or approximate measurement honestly and explain how it was obtained. When someone remeasures, retain the earlier value with a clear superseded label rather than leaving two unexplained alternatives in circulation. The final packet should show which revision controls the order and which observations still require professional verification. That discipline helps a homeowner participate in the process without pretending to have performed an installer’s final survey.
Use the packet to compare quotations fairly
Send each supplier the same revision and list the decisions that remain open. Ask quotations to identify the cabinet line, materials, hardware, finish, accessories, delivery, installation and exclusions separately. Refer questions back to the same labelled drawings instead of creating competing informal plans. A cheaper quotation may cover a different scope, while a higher one may include components another supplier has omitted. Your measurement packet helps reveal that difference, but it does not determine whether the products or installation services are equivalent.
Before approving an order, arrange the supplier's required final verification and review the resulting drawing against the actual room. Confirm the appliance models, door swings, end panels, service access and fitting allowances, then retain the signed or otherwise approved revision according to the supplier's process. Use KitchenCabinets.io's city pages to frame local planning conversations, not as proof that a particular business has measured or endorsed your kitchen. A reliable handoff is a documented set of observations and decisions that the next professional can check, question and use without having to guess what you meant.
KraftMaid’s measuring guide likewise recommends labelling walls and recording openings, obstructions and utilities. That agreement on the basic inventory is useful; the final order should still follow the selected supplier’s measurement and approval process.
Sources and editorial notes
This is original explanatory reporting and planning analysis. Manufacturer documents support the specific product facts attributed in the guide; they do not imply affiliation. Sources were checked for this launch. The illustration was created for this article; it is not a photograph of a completed project.
Corrections or a documented technical update? Email the editorial desk.