Sink and cleanup · Homeowners planning a practical, inspectable sink cabinet
Plan the Sink Base for Plumbing, Storage and Early Leak Detection
Coordinate sink supports, plumbing, pullouts, access, drip trays and leak detection without assuming waterproof cabinetry.
Start with the practical decision
The sink base is often treated as the cabinet left over after choosing a sink. In practice, it is one of the kitchen's busiest shared spaces. The sink bowl, plumbing, shutoffs, waste fittings, filters, cleaning supplies and sometimes a disposal unit or other equipment all compete for access. Planning it as an ordinary empty box can produce storage that collides with pipes and connections that disappear behind a packed shelf.
A better brief gives the sink base three jobs: support the selected installation, provide useful accessible storage and make problems easier to notice and address. None of those jobs makes a cabinet waterproof or guarantees a leak will be prevented. This guide organizes the design questions and the handover checks. Plumbing and appliance connections should be assessed and installed by appropriately qualified people according to the products and applicable local requirements.
Select the sink before finalizing the cabinet
Start with the actual sink model and its installation information. Nominal width does not describe the complete space occupied by a bowl, mounting system or apron front. An undermount arrangement also involves the countertop supplier's support and cutout details. A farmhouse-style sink can affect the cabinet front and support arrangement. The cabinet should be designed around the selected assembly rather than a generic rectangle labelled “sink.”
Ask the cabinet supplier and countertop fabricator to confirm their respective responsibilities. Who provides the support? Who checks the required opening? Who coordinates the sink with the faucet and nearby fittings? The answers should appear in the project documents. A sink arriving on site is not the right moment to discover that each supplier expected someone else to provide its supporting detail.
Consider a hypothetical replacement with a deeper bowl. The top opening may appear similar to the old sink, but the lower bowl and drain position can occupy space previously used by a shelf or waste bin. Mark those volumes in a section drawing before selecting an organizer. A deeper bowl can be useful, but its benefits should be considered alongside reach, plumbing and storage consequences.
Make a map of everything inside
List every item intended for the sink base. Include hot and cold supplies, shutoffs, drain components, dishwasher connections where present, filter equipment, soap reservoirs and any powered device. Distinguish confirmed equipment from an idea for later. The map should be reviewed by the relevant installer because connection positions and access requirements cannot be established from a cabinet catalogue alone.
Use a front view and a simple section to show the main occupied spaces. You do not need to design the plumbing yourself. The purpose is to let the professional identify whether the proposed storage will obstruct installation or access. A pullout bin needs its own travel path and mounting surfaces; a pipe behind it may fit while closed but interfere when the mechanism moves.
Leave uncertainty visible. If the filter system is not selected, mark a reserved zone as provisional and identify who must confirm it. Otherwise, a general intention to “leave space” can become an unworkable gap after the drawer or pullout has been ordered. A documented placeholder gives the team a decision to finish instead of a surprise to solve during installation.
Preserve access before maximizing storage
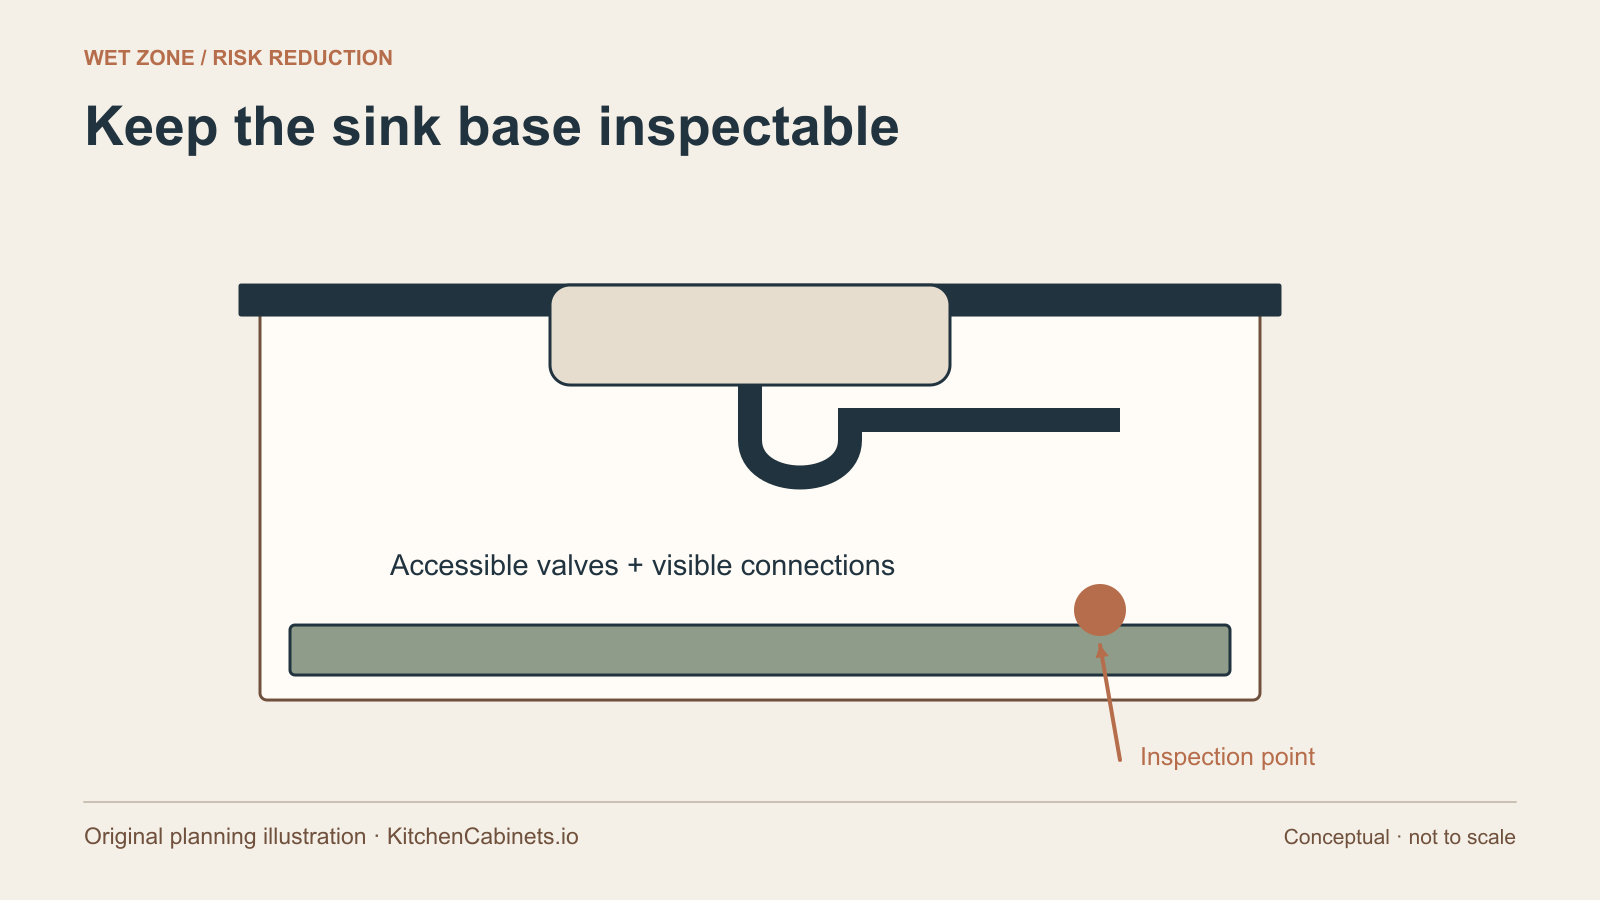
The most useful sink storage is not necessarily the fullest cabinet. Shutoffs and serviceable components should remain accessible in the installed arrangement, with the installer confirming the relevant requirements. Ask how a person will reach them when the cabinet contains its normal supplies. A location that is visible only when every bottle and bin is removed may be inconvenient during an urgent problem.
Think about routine maintenance as well as emergencies. A filter cartridge may need removal space, a removable waste container needs a lifting path and a connection may need inspection. Show those movements in the plan. Do not assume the nominal cabinet depth represents usable storage when a service component occupies the back half or projects into the middle.
A useful worked comparison is between a fixed shelf and a removable organizer. The fixed shelf might hold more items on paper but block a connection behind it. A removable organizer may offer less nominal storage while allowing faster access. The right choice depends on the actual equipment and users. Ask the supplier to demonstrate removal and reinstallation rather than relying on the word “accessible.”
Keep storage and plumbing details coordinated
A sink-base pullout should be selected with the cabinet's usable opening, internal width, depth and hardware in mind. Hinges and door movement can reduce the accessible space. A fitting advertised for a nominal cabinet category may still have specific dimensional requirements. Use the manufacturer's current product information and have the cabinet supplier confirm the exact model's compatibility.
Do not resolve interference by improvising cuts in a structural part, plumbing component or proprietary fitting. Bring the conflict back to the responsible installer or supplier. There may be an approved alternative arrangement, a different organizer or a revised cabinet detail. The fact that a component can physically be cut does not establish that the resulting assembly is suitable or covered by its documentation.
Where two suppliers are involved, assign the coordination explicitly. The storage supplier should know the planned service positions; the plumber should know the organizer's operating zone. One marked drawing can prevent both parties from making individually reasonable choices that conflict when combined. Keep the final version with the project information for future servicing.
Recognize what a drip tray can do
A tray can provide a visible, cleanable surface beneath likely drip locations and may temporarily contain a limited amount of water, depending on its design. Rev-A-Shelf's sink-base tray range includes products with model-specific construction and fitting details. Its descriptions explain features such as trim-to-fit options and directing excess water toward the front. Those are particular product features, not a promise that the cabinet becomes a watertight enclosure.
Before choosing a tray, check its actual fit and installation requirements. Door hinges, center stiles, pipes and organizer fixings can affect installation. Ask how the tray will be removed for cleaning or inspection and whether a fitting penetrates it. An apparently protective surface is less useful if it hides trapped moisture or prevents access to the area beneath it.
Keep expectations realistic. A tray does not correct a leaking joint, stop a pressurized supply or protect every surface in the cabinet. It may fill, overflow or fail to catch water from a different path. Treat it as one practical layer in a broader plan: appropriate installation, accessible inspection, suitable care and prompt response when moisture is discovered.
Choose detection for the leak you want to notice
EPA WaterSense distinguishes leak-detection and flow-monitoring devices with different sensing methods and functions. A point-of-use moisture sensor can be useful near an under-sink area because it responds when water reaches that sensor. A whole-house flow monitor evaluates water movement through the supply system and may identify different patterns. Neither description means every device detects every possible leak.
EPA's leak and flow guidance notes the usefulness of point sensors in locations such as drain areas that flow monitoring may not capture in the same way. This distinction matters at a sink: water can escape while draining even when the supply pattern does not look unusual to a particular monitor. Ask what event a proposed device actually detects instead of assuming that “smart leak protection” describes one uniform capability.
Separate detection, notification and shutoff. A device may sound locally, send an app alert or operate an automatic valve, depending on its model and installation. Verify those functions in the current product documentation. Do not describe a simple moisture alarm as an automatic shutoff system. If a shutoff product is proposed, have the appropriate professional assess compatibility and installation requirements.
Place and maintain sensors deliberately
Follow the selected sensor manufacturer's placement instructions and consider the likely water paths. A point sensor responds only when water reaches its sensing area; it is not a general inspection of the whole cabinet. A tray may change that path. An organizer or stored item may shield the sensor or move it away from its intended position. Review the sensor and storage arrangement together.
Decide who receives an alert and what that person should do. A local alarm may be hard to hear when nobody is home. An app notification depends on the product's power, connection and account settings. Confirm what happens when a battery is low or connectivity is lost. These are product-selection and maintenance questions, not reasons to assume connected equipment is either always reliable or inherently useless.
At handover, demonstrate the manufacturer's recommended test method and record the maintenance instructions. Avoid creating a real plumbing leak to test detection. Identify the device, its location and the person responsible for checking it. A sensor that is forgotten behind supplies can become an unmaintained accessory; a documented test routine makes its limitations and expected operation clearer.
Make the interior easy to inspect
Arrange supplies so the cabinet's lower surface and connection areas can be seen without a major unpacking exercise. Removable bins can help separate cleaning products from the cabinet surface while making inspection easier. Check that their placement does not block shutoffs, sensor locations or service access. The aim is orderly use, not a decorative photograph that requires everything to remain perfectly arranged.
Store products according to their own labels and keep incompatible materials apart as directed. Avoid overloading the space with reserve supplies simply because it is hidden. A heavy collection can make a small drip harder to notice and make access slower. If the household needs substantial bulk storage, consider locating it elsewhere and reserving the sink base for frequently used items and accessible services.
Include moisture management in the care questions you ask the cabinet supplier, including how to deal with wet items resting against cabinetry. Apply the relevant care instructions for your actual cabinet finish and materials. A damp cloth left on a door edge can create a different problem from a plumbing leak, but both deserve attention. Care advice should complement leak investigation, not be used to dismiss an unexplained wet area.
Include plumbing inspection in the project scope
The Building America Solution Center's guidance on water-using fixtures discusses checking fixtures, hoses, valves and associated connections for leakage. For a kitchen project, ask the installer what they will inspect and test at completion. The cabinet contractor and plumber may have different scopes, so make sure the project includes a responsible person for the actual connected installation.
After installation, examine the accessible areas using the agreed procedure and report moisture promptly. Do not assume a new installation cannot have a problem, and do not assume every wet mark proves a continuing plumbing fault. Record where and when it appeared and have the appropriate person investigate. A clear observation is more useful than an unsupported diagnosis.
If water is discovered, follow the household's established response plan and seek the appropriate professional help. Knowing the location and operation of accessible shutoffs can be useful, but this article does not prescribe a response to every electrical, flooding or plumbing situation. Have the installer explain the relevant equipment during handover and keep their contact information with the project documents.
Plan for future changes without promising empty space
A future filter, boiling-water product or waste system may have very different requirements from the equipment installed today. If one is likely, select it early or define a realistic reserved zone with the designer. A vague promise that there is “room underneath” does not account for heat, power, ventilation, maintenance or the plumbing interface of an unselected product.
Document the final arrangement with a clear photograph and a simple list of installed equipment and model numbers. Keep manuals, sensor instructions and any tray information together. A future technician can then understand the intended layout before removing an organizer or changing a connection. Update the record if equipment is replaced so the original drawing does not become misleading.
The final review is practical: can the sink assembly be supported as specified, can each service be reached, can the storage move without collision and can someone notice a problem? A well-planned sink base answers those questions with actual products and accessible details. It uses storage intelligently while preserving the inspection and maintenance that a hard-working, water-adjacent cabinet needs.
An effective handover demonstration can use an empty cabinet before household supplies are returned. Ask the installer to point out the serviceable components and show how any removable organizer comes out. Then put the intended storage back and check that the same access remains practical. Record any limitation rather than relying on memory. This sequence tests the real arrangement and gives the household a usable reference for maintaining it after the project team has left.
Sources and editorial notes
This is original explanatory reporting and planning analysis. Manufacturer documents support the specific product facts attributed in the guide; they do not imply affiliation. Sources were checked for this launch. The illustration was created for this article; it is not a photograph of a completed project.
- US EPA WaterSense: Leak Detection and Flow Monitoring Guide, 2026
- Building America Solution Center: Leaks in water-using fixtures
- Rev-A-Shelf: Sink-base drip trays
Corrections or a documented technical update? Email the editorial desk.