Kitchen planning · Households reviewing a kitchen layout with a designer
Kitchen Layout Clearances: Plan for People, Open Doors and Real Tasks
Test kitchen clearances through real tasks, open doors, household needs and clearly scoped planning standards.
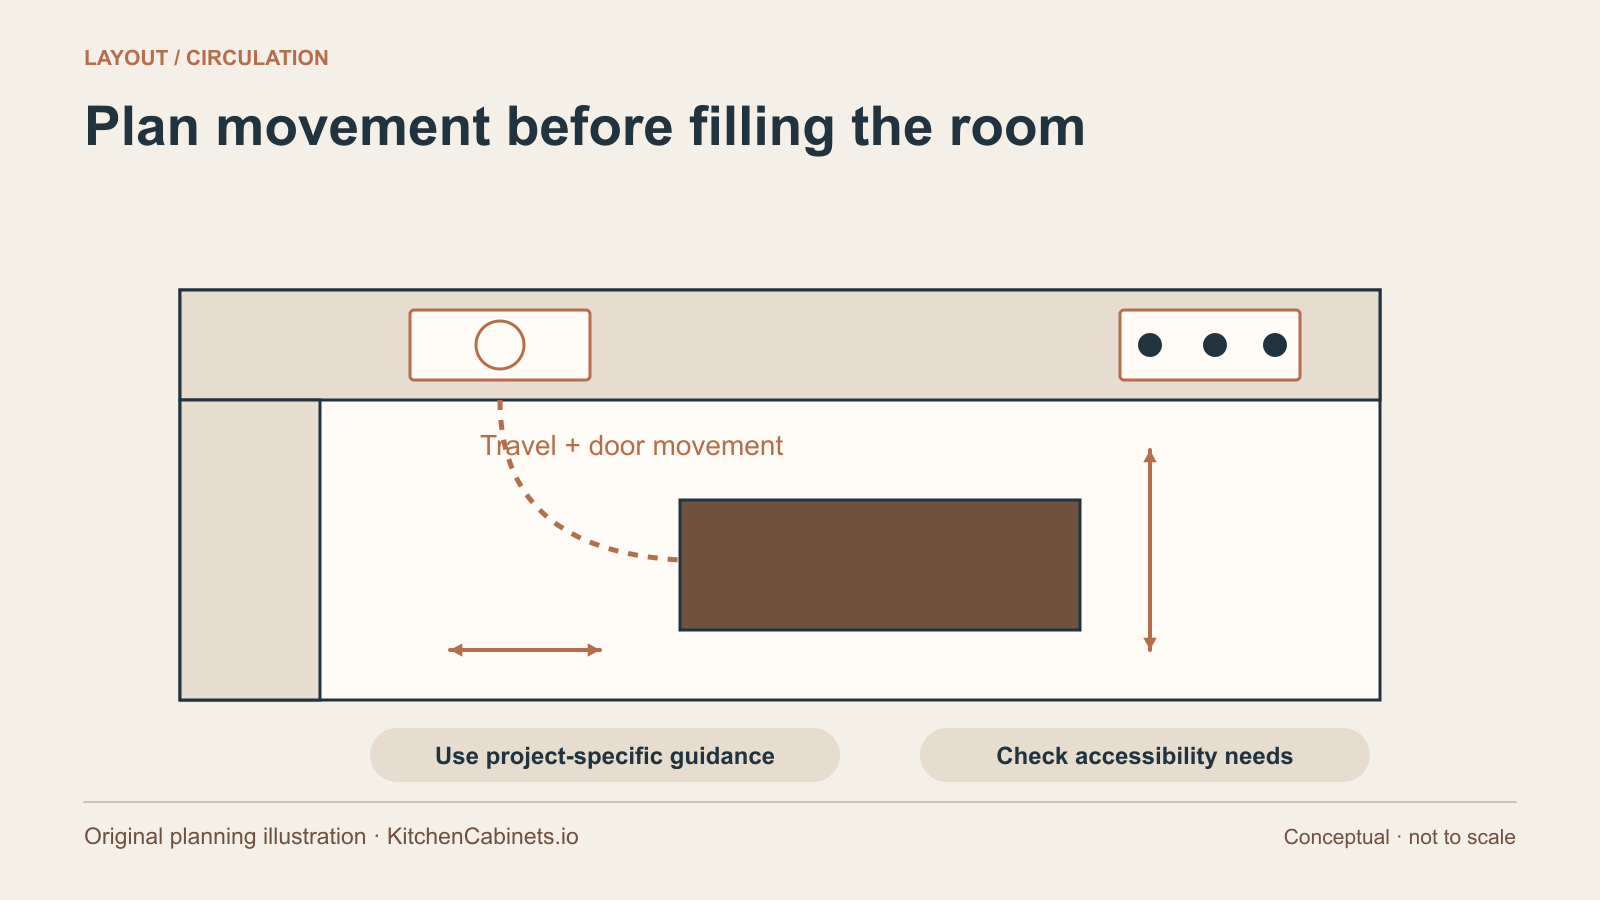
Start with the practical decision
A kitchen plan can look spacious while every door is closed. The more useful test is what happens when someone unloads the dishwasher, another person reaches the refrigerator and a third tries to leave the room. Cabinet dimensions describe the furniture. A working layout also needs to describe people, moving doors, carried objects and routes through the space. That is why a clearance should always have a named purpose and a clearly identified measurement point.
This guide is a planning method for discussing a residential kitchen with its designer and installer. It does not supply a universal set of code dimensions. Local requirements, the building type, accessibility obligations and the chosen appliances can change what is required. The US Access Board's ABA kitchen provisions are a useful example of precise terminology, but their requirements have a defined American federal scope. They should not be presented as Canadian residential rules or applied automatically to every home.
Draw the space between the cabinets
Start with a measured room and a proposed cabinet plan. Then make a second drawing that emphasizes the empty space. Show the main entrance, exits, adjacent rooms, island ends and the routes people actually use. A kitchen that also connects a back door to a dining room has a circulation job beyond food preparation. Treating that route as spare working space can produce a kitchen that functions only when nobody walks through it.
Mark the furthest projecting parts of the installed arrangement rather than measuring only between cabinet boxes. Countertop overhangs, appliance faces and nearby walls can define the usable passage. The Access Board's ABA Chapter 8 describes clearances in relation to projecting cabinets, countertops, appliances or walls, with a specific exception for hardware. That careful definition illustrates why a number written between two cabinet carcasses may describe a different space from the one a person experiences.
Make the drawing explain its assumptions. If the countertop thickness, refrigerator position or island overhang is still provisional, label it that way. Ask the designer who will update the clearance calculation when those items are finalized. A planning dimension becomes more useful when its endpoints are visible and its revision history is clear. A large unlabeled arrow can conceal several unresolved decisions.
Separate working space from a through route
Describe each stretch of floor by its main job. The area where a person stands at the sink is a work position. The route past that person may be a through route. The space into which an oven door opens is a temporary operating zone. These uses can overlap, but the overlap should be deliberate. It should not emerge for the first time when the kitchen is installed and a hot tray is being carried.
Consider a hypothetical galley with an exterior door at its far end. One drawing might show an unobstructed corridor when all appliances are closed. A second drawing should show a person at the sink and the dishwasher door open. If the only exit then requires someone to step over the door or squeeze behind the working person, the design has a conflict to resolve. The answer could involve appliance position, traffic routing or the overall layout; it is not necessarily a slightly smaller cabinet.
Ask household members to identify repeated journeys. School lunches may move between the refrigerator, drawer storage and a table. Groceries may arrive from a garage entrance. A person preparing coffee may use only one end of the kitchen. Mapping these journeys often reveals a better location for frequently used items without changing the entire cabinet run. The goal is to reduce unnecessary crossing, not to make every activity follow a rigid diagram.
Test the kitchen with doors open
Obtain the actual appliance documentation and draw the operating envelope of each door. Include the refrigerator at the opening angle needed to remove its drawers, not merely the angle that lets a hand reach a shelf. Include the dishwasher door, an open oven and fully extended cabinet drawers. Appliance installation instructions may also require spaces that serve ventilation or access, which are separate from comfortable circulation.
Test combinations that are plausible in the household. Dishwasher plus adjacent cutlery drawer is an obvious unloading scenario. Refrigerator plus pantry pullout may be a breakfast scenario. An oven door plus an opposing drawer may occur during cooking. It is unnecessary to demand that every door open simultaneously, but the plan should support the combinations that recur rather than assuming everyone will remember a complicated sequence.
A worked planning exercise helps. Imagine the dishwasher is on the left of the sink and dishes are stored in a drawer directly opposite. Draw both open. Now place a person at the dishwasher and another approaching the sink. If the arrangement blocks unloading, consider moving dish storage, changing which side holds the dishwasher or reconsidering the opposing cabinet. Compare each option against plumbing, appliance instructions and the rest of the workflow before choosing it.
Design around the people who will use it
A household is not an average body. List who cooks, who cleans up, whether more than one person works at once and whether someone needs a seated position, mobility aid or assistance. Ask about reach, grip, balance and fatigue in practical terms. A person may be able to reach a shelf occasionally but find it uncomfortable to use several times a day. Frequently used storage should reflect routine effort as well as maximum reach.
Accessible planning is most useful when it starts early. Knee space, approach direction, work surface height, storage reach and controls can influence the cabinet arrangement. These decisions are difficult to recover by changing handles after installation. The NKBA describes its Kitchen & Bath Planning Guidelines as covering planning and access considerations and now identifies a fifth edition. Ask the designer which edition and which locally applicable requirements they are using, rather than relying on an unattributed diagram online.
Do not treat a single turning circle or aisle dimension as a complete accessibility solution. A person must also approach the appliance, operate controls, open its door and manage the contents. Where accessibility is a project requirement, have the responsible designer confirm the applicable standard and document compliance. Where it is a personal preference, test the actual tasks with the intended user and distinguish those preferences from regulatory claims.
Use a simple task sequence
Choose one ordinary meal and walk through it on the plan. Take ingredients from the refrigerator, wash produce, prepare it, cook, plate and clean up. Name the work surface used at each step and the storage that serves it. This is more revealing than checking only whether the sink, refrigerator and cooking appliance form a familiar geometric pattern. A tidy triangle can still hide a poor preparation surface or a busy through route.
Next test a different use, such as baking or preparing several packed lunches. The first scenario may favor a sink-to-cooktop sequence; the second may depend on a large uninterrupted surface and access to pantry storage. A successful plan does not need a dedicated station for every hobby. It should make the frequent tasks practical and make the compromises visible before cabinets are ordered.
Record conflicts as specific observations. “The person at the sink blocks the refrigerator drawer when the dishwasher is open” is actionable. “The kitchen feels cramped” is harder to resolve. Specific observations let the designer compare alternatives and show the effect of each change. They also prevent one person's preferred layout from becoming an unsupported claim that a different household must use the same arrangement.
Treat island seating as a separate use
An island can be a preparation surface, storage area, eating place and divider between rooms. Those functions compete for its edges. Show seated people and the movement of stools, not just circles tucked neatly below an overhang. Then draw the route behind them. The amount of room needed to pass a seated person is a different planning question from the room needed to stand at an unused counter.
Ask how often the seating will be occupied and who uses it. Occasional seating for one person may coexist with a compact preparation zone differently from daily family meals. If stools occupy the main route to the garden, test the busiest scenario. It may be better to reduce the number of seats or relocate them than to shrink working storage until neither activity works well.
An overhang also has structural and product requirements. The countertop supplier must confirm support, material limits and installation details. A cabinet drawing that labels an edge “seating” does not establish that the countertop can span that distance unsupported. Keep the comfort question and the support question linked in the project documents, with a responsible person assigned to each.
Check corners, handles and end conditions
Small collisions can undermine an otherwise generous layout. A drawer near a perpendicular wall may need clearance for its handle and front. Two adjacent doors may interfere at an inside corner. A tall refrigerator door may strike a wall before the internal drawer can be removed. These are reasons to evaluate the exact fronts, hinges, handles and appliances, rather than relying entirely on simplified cabinet blocks.
Ask for corner details in plan view and, where necessary, an elevation or section. Identify fillers, finished panels and their purpose. A filler is not automatically wasted space: it may let a handle clear a wall or allow a front to open. Conversely, a large unexplained gap deserves a question. The designer should be able to show why it exists and what would change if it were reduced.
Use physical demonstrations for the most uncertain details. A sample door and handle held against a marked wall can clarify a collision. A showroom corner can reveal whether a storage fitting suits the user's reach. Mock-ups do not replace installation drawings, but they can make a hard-to-visualize problem understandable before the final approval. Record the result so it survives later revisions.
Mock up the proposed kitchen safely
Painter's tape and cardboard can make a plan easier to evaluate. Mark the approximate footprint of an island or cabinet run in an empty, safe area. Use cardboard to indicate an open appliance door and a chair to represent seating. Keep escape routes clear and avoid creating a trip hazard. The purpose is to learn how the arrangement feels, not to simulate load-bearing furniture or appliance installation.
Perform a few normal movements: carrying a grocery bag, turning with a tray, standing beside another person or approaching a drawer. Note where the mock-up is less accurate than the finished kitchen. Tape does not reproduce countertop projections, handle collisions or a wheelchair's exact approach conditions. It is a discussion tool alongside measured drawings and product documents.
Invite the actual users to participate before presenting the layout as settled. A disagreement discovered during a mock-up is useful information. One person may prioritize a clear through route while another wants more preparation space. Write those priorities down and ask the designer to show alternatives. Resolving a visible tradeoff is more productive than expecting a single layout to maximize every feature.
Approve a coordinated layout, not a screenshot
The final review should connect the room measurement, cabinet schedule, countertop geometry and appliance schedule. Check that the latest model numbers appear on the drawing and that pending selections are clearly marked. A change from one refrigerator to another can alter door clearance, cabinet depth relationships and ventilation requirements even if the advertised width sounds similar. Establish which changes require the layout to be reviewed again.
Ask the responsible professional to identify which dimensions are recommendations, which come from manufacturer instructions and which are required by the applicable project rules. This distinction avoids turning a helpful planning guideline into a claim of code compliance. It also gives the installer a clear source when two documents appear to conflict. Resolve that conflict before fabrication rather than asking the installer to improvise around it.
A useful sign-off record includes the agreed layout revision, outstanding questions, the person responsible for each answer and a hold point before irreversible work. The result is not merely a spacious-looking kitchen. It is an arrangement that has been checked against the people, tasks, open doors and actual products it must accommodate, with its remaining uncertainties made explicit.
Keep a short scenario log alongside the final plan. It might record weekday breakfast with two people, a dishwasher unloading session and a person carrying groceries through the room. For each, note the doors that were assumed open and any compromise accepted. If the island moves later, repeat the affected scenarios rather than relying on the earlier approval. This gives the household a clear reason for the chosen arrangement and helps a later design revision preserve the tasks that mattered most.
Sources and editorial notes
This is original explanatory reporting and planning analysis. Manufacturer documents support the specific product facts attributed in the guide; they do not imply affiliation. Sources were checked for this launch. The illustration was created for this article; it is not a photograph of a completed project.
- US Access Board: ABA Chapter 8, Special Rooms, Spaces and Elements
- NKBA: Kitchen and bath planning guidelines
Corrections or a documented technical update? Email the editorial desk.