Installation & Care · Homeowners receiving an installed kitchen
The cabinet handover: a practical inspection before the tools leave
Inspect cabinet installation, document a clear punch list and collect the care and product records needed after handover.
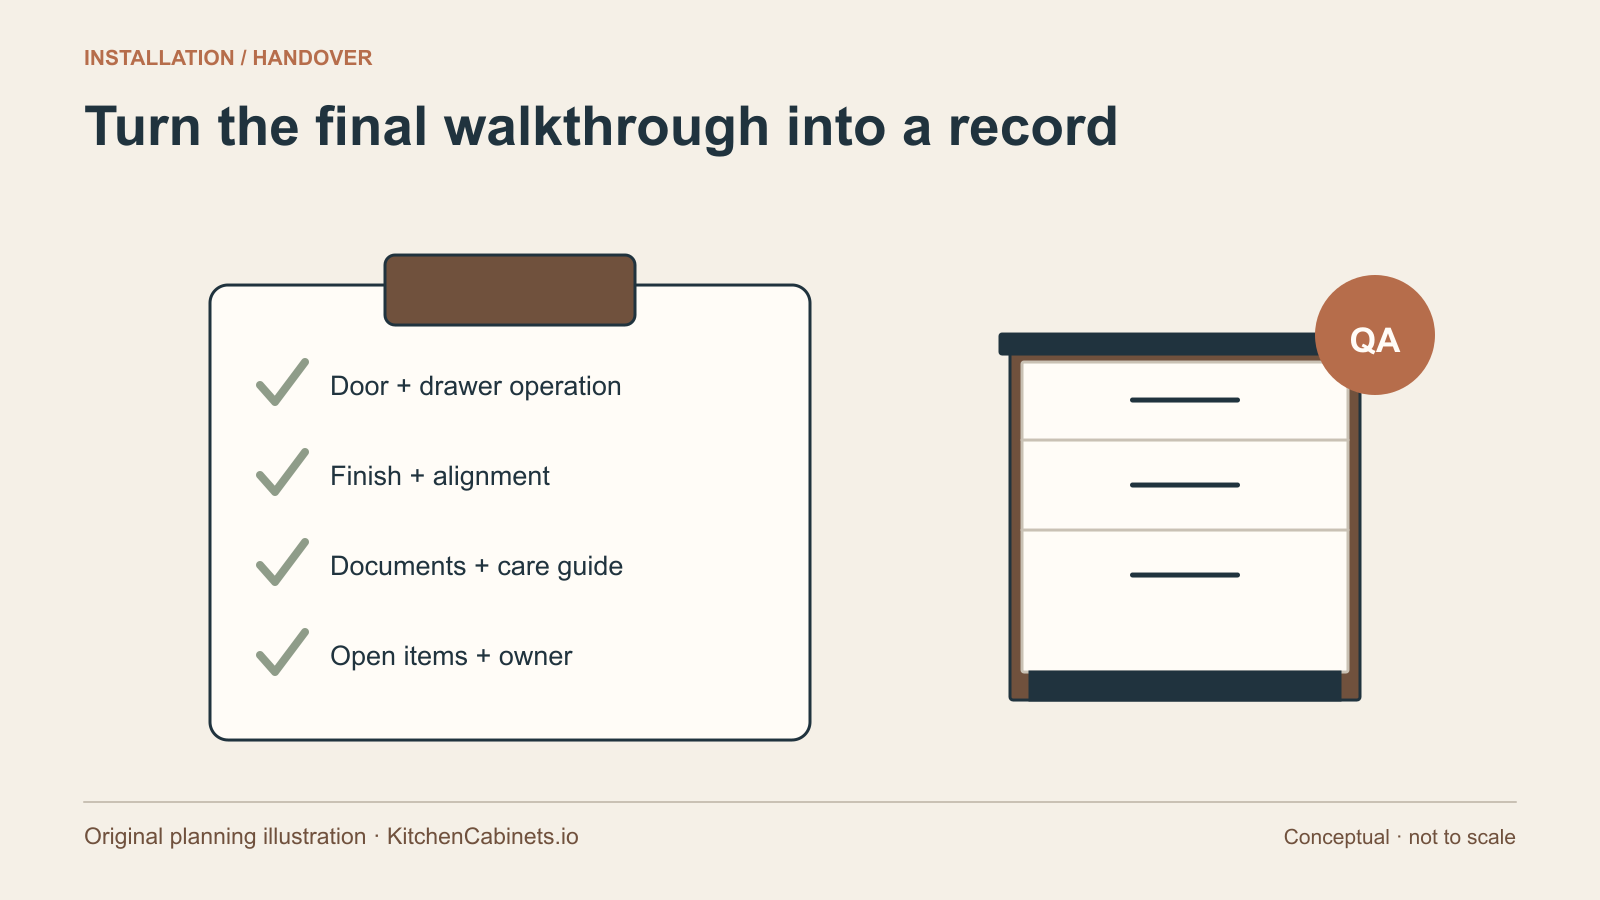
Start here
A cabinet project is not finished merely because every door has been hung. The owner still needs to know whether the installed work matches the approved schedule, whether doors and drawers operate properly, what remains unfinished and how the cabinetry should be maintained. A structured handover turns those questions into a manageable record. It also gives the installer a clear opportunity to demonstrate the work and explain the remaining steps.
This guide is an owner-facing inspection framework, not instructions for fastening cabinets or carrying out electrical, plumbing or structural work. Use the cabinet and hardware manufacturers' current installation documents and appropriately qualified trades for those tasks. KitchenCabinets.io does not certify an installation by publishing a checklist. If something appears unsafe, insecure or inconsistent with the product instructions, ask the responsible professional to assess it rather than trying to solve it with a cosmetic adjustment.
Start with the approved documents
Bring the final drawing, cabinet schedule, finish record and accepted changes to the handover. These documents define what you are checking. A remembered showroom conversation is not a reliable way to decide whether an island end panel, a pantry mechanism or a drawer arrangement is correct. Identify cabinets by their schedule numbers so that a concern can be located without somebody having to interpret a description such as the second door near the corner.
Make sure the documents reflect the final appliance selections and any approved substitutions. A drawing that predates the last oven change can create confusion even if the installation has been carried out correctly. If a change was agreed during the project, add it to a single revision record and identify the person who approved it. The handover should not become the first time several parties discover that they are working from different versions.
Keep separate lists for cabinet work and work belonging to other trades. An incomplete backsplash or an appliance awaiting commissioning may be outside the cabinet installer’s scope, but it can still affect how the room is used and how the cabinet installation is inspected. Record the dependency and responsible party. This avoids both blaming the wrong contractor and overlooking a task because it falls between two scopes.
Inspect the overall room before individual details
Begin with a slow view of each cabinet run in the installed lighting. Look for differences from the approved layout, missing panels or trim, visible damage and unfinished work. Photograph each elevation before taking close-up images of particular concerns. The wide view provides context and makes it easier to locate the issue later. Avoid inspecting only the most prominent doors while overlooking an exposed end, a tall surround or the underside of a wall cabinet.
Ask the installer to explain any visible joint or fitting detail that differs from your expectations. A filler, scribe or movement allowance may be intentional, while a missing component may not be. The approved drawings, product guidance and installation requirements should guide the conversation. Do not assume that every gap is a defect, or that every gap can be dismissed as a normal feature without explanation.
Keep observations factual. Instead of writing poor finish, identify the panel, the location of the mark and the conditions under which it is visible. Instead of saying the run is wrong, describe the difference from the approved drawing. This approach makes a punch list easier to act on and reduces the chance that a legitimate concern is lost in a broad disagreement about the entire project.
Open every door and drawer through its normal movement
Operate each door and drawer, including internal drawers, waste units, corner fittings and pantry mechanisms. Check the complete movement rather than stopping after the first few centimetres. Look for contact with a neighbouring front, handle, wall or appliance. Open adjacent elements in the combinations likely to occur during everyday use, such as a dishwasher beside a waste pullout or a drawer near an open corner door.
Ask the installer to demonstrate removable drawers, adjustable shelves and any specialist mechanism. The owner should know the appropriate removal and adjustment procedure for the exact hardware, not rely on a general online video for a different system. KraftMaid's adjustment library illustrates why these instructions are separated: doors, drawers, waste pullouts and other fittings have their own procedures. Use the corresponding documentation for the products actually installed.
Do not treat an empty drawer's smooth motion as proof that every loading arrangement is suitable. Discuss the intended contents and the applicable product limits with the supplier. If a drawer catches or a front is visibly misaligned, have the installer record and resolve the issue. An owner should not be expected to compensate for an installation problem by remembering to lift, push sideways or avoid opening a particular drawer fully.
Distinguish adjustment from a deeper problem
Minor alignment work can be a normal part of finishing a cabinet installation. KraftMaid notes that installed doors or drawers sometimes need adjustment and provides product-specific guidance. That observation should not be turned into a reason to dismiss every operating concern. A hinge adjustment is not a substitute for checking an insecure cabinet, a distorted box, an unsuitable fixing or another underlying installation issue.
Ask the installer to identify both the symptom and the proposed remedy. For example, a front that touches a neighbouring panel may need a documented adjustment, but the reason should be checked before the adjustment is made. If the same problem returns immediately, record that fact rather than repeating the adjustment indefinitely. A clear diagnosis is more useful than a promise that the cabinetry will settle without explaining what change is expected.
If an issue involves support, attachment, moisture or services, keep it outside the cosmetic punch list until the appropriate professional has assessed it. Do not put a cabinet into a use that the installer says is not yet safe or complete. The handover process should make the responsibility visible, including any restriction on use while a remedy is arranged. It should not pressure the owner to accept an unresolved condition as a maintenance task.
Review appliance and service interfaces
Cabinet work meets other systems at ovens, refrigerators, dishwashers, sinks, cooktops and ventilation equipment. Ask the responsible parties to confirm that the installed assembly corresponds with the selected appliance models and their current instructions. The cabinet drawing should not be treated as an independent authority to override an appliance requirement. If a model changed after design approval, its interfaces deserve particular attention.
Check that routine operation does not create an obvious collision or access problem. Open the refrigerator sufficiently for the intended internal components to be used, check cabinet and appliance handles together and look at the dishwasher with neighbouring cabinetry open. Record what you observe and ask the installer or appliance specialist to resolve any discrepancy. This is a coordination check, not a substitute for professional commissioning.
Locate the practical service access that should remain available. The owner should be able to identify where the relevant valves, connections or removable access components are, with guidance from the appropriate trade. A storage insert should not conceal a problem or make routine maintenance impossible. If equipment has not yet been commissioned, record who will complete that work and how the cabinet handover relates to the outstanding task.
Check the sink area for a maintenance plan
Look inside the sink cabinet after the relevant plumbing work has been completed and checked by the responsible person. Identify the surfaces and edges likely to encounter water, the route for removing stored items and the way an owner can notice a leak. A tidy cabinet is useful, but a beautifully organized interior that prevents inspection can make a small problem harder to discover.
Ask how the cabinet surfaces around the sink should be cleaned and dried. The manufacturer’s finish instructions should be included in the handover package. KraftMaid's care guidance gives special attention to moisture around sinks and dishwashers; that is a useful reason to discuss towel storage, cleaning products and recurring splashes. It is not a claim that every sink cabinet uses the same finish or needs the same repair procedure.
Do not accept a cosmetic repair as the only response to continuing water entry. A stain, swollen edge or damp area needs its cause assessed by the appropriate party. Record the location, the apparent source and any agreed action. The handover should establish how a concern will be reported, not leave the owner to decide whether a future problem belongs to the cabinet supplier, the installer or the plumber.
Use a punch list with four useful fields
For every unfinished or disputed item, record the location, the observation, the responsible party and the next action. Add a target date where one is agreed, and identify whether the item affects use of the kitchen. These fields are more useful than a long collection of photographs without explanation. They also make it possible to distinguish a minor touch-up from a task that prevents the room from being used as intended.
Consider an example: the approved schedule includes a tray organizer, but the delivered cabinet has ordinary shelving. The punch-list entry identifies the cabinet number, references the schedule, names the supplier responsible for the accessory and records what will be supplied or clarified. It does not need to speculate about why the omission occurred. Once the remedy is complete, add the completion date and a confirming note or photograph.
Keep completed and outstanding items in the same record. Deleting an item as soon as somebody says it is finished can make later questions difficult to resolve. Instead, mark it complete after the agreed result has been checked. If the proposed remedy changes, record the new agreement. The aim is a shared and understandable finish to the work, not a checklist that becomes progressively less informative as the project ends.
Collect care, adjustment and replacement information
The handover package should identify the cabinet line, door style, finish codes, relevant hardware models and the final order reference. Include the product-specific care instructions and information for obtaining replacement parts. This is especially useful when a visible panel uses a different material from the doors or when several hardware systems are installed in the same room. An owner should not have to infer those differences from appearance.
Ask the installer to identify any supplied touch-up products, spare components or adjustment tools and explain their intended use. Keep them labelled and follow their storage instructions. An unmarked container is not a useful maintenance resource. Likewise, do not assume that an available hinge screw should be adjusted in the same way as a screw on another brand or mechanism; use the correct instructions and ask for help if the purpose is unclear.
Read the actual warranty and service documents for the ordered products. Record the contact route for reporting an issue and the information the supplier will need. Do not assume that a general discussion of cabinet care extends a warranty or changes its terms. Where the written terms are unclear, ask the supplier to explain them and seek appropriate advice for significant unresolved concerns rather than relying on an informal assurance.
Finish with an ordinary-use walkthrough
Before the installer leaves, walk through a few familiar tasks: putting away a plate, retrieving a pan, removing a waste container and accessing an adjustable shelf. This exercise connects the technical handover to the way the kitchen will actually be used. It can reveal an awkward opening combination or an accessory that has not been demonstrated, even after an otherwise careful visual inspection.
Agree how remaining work will be coordinated without losing track of the shared record. If a return visit is needed, identify the materials or other trade work required before it can be productive. Keep the final drawing and punch list available for that visit. A short follow-up with clear information is usually more useful than repeatedly retelling the history of the entire renovation.
The practical test of a good handover is whether the owner understands what has been installed, how it should operate and what remains to be done. It should also leave the supplier with a precise account of any concern requiring attention. That shared understanding is the final part of cabinet planning, not an optional courtesy after the design and installation work are over.
Keep the closure record as clear as the original list
When an item is corrected, record what was done and who checked the result. A marked photograph and a short note can be enough for a straightforward alignment issue. If a repair changes a visible finish or replaces a component, confirm the product identification and care information are still accurate. Do not close a service-access problem solely because the door now looks aligned; check the original observation against the completed work. Keeping the correction alongside the initial entry helps everyone understand what was resolved and prevents an old photograph from being mistaken for the kitchen's current condition.
Sources and editorial notes
This is original explanatory reporting and planning analysis. Manufacturer documents support the specific product facts attributed in the guide; they do not imply affiliation. Sources were checked for this launch. The illustration was created for this article; it is not a photograph of a completed project.
Corrections or a documented technical update? Email the editorial desk.